m1 맥북 node 개발 세팅 - [1] node 설치
1. vscode : vscode 홈페이지에서 다운. https://code.visualstudio.com/
Visual Studio Code - Code Editing. Redefined
Visual Studio Code is a code editor redefined and optimized for building and debugging modern web and cloud applications. Visual Studio Code is free and available on your favorite platform - Linux, macOS, and Windows.
code.visualstudio.com
2. git-fork : git-gui툴 홈페이지에서 다운. https://git-fork.com/
Fork - a fast and friendly git client for Mac and Windows
Fork - a fast and friendly git client for Mac and Windows
fork.dev
3. git 설치 : 이건 겸사겸사 xcode 설치한다. - xcode는 그냥 앱스토어에 설치

xcode 설치후 터미널에 git --version 하면 설치 확인 가능.
4. node 설치 - https://amanhimself.dev/blog/install-nodejs-using-nvm-on-macos-m1/
How to install Node.js using NVM on macOS M1 by Aman Mittal
Software Developer and Technical Writer since 2017. Senior Content Developer at Vercel. Loves learning and writing about Node.js, React, React Native & Expo. Occasional speaker. Previously, a Developer Advocate.
amanhimself.dev
Homebrew
The Missing Package Manager for macOS (or Linux).
brew.sh
- 홈브루 홈페이지에 있는 명령어대로 터미널에 실행
/bin/bash -c "$(curl -fsSL https://raw.githubusercontent.com/Homebrew/install/HEAD/install.sh)"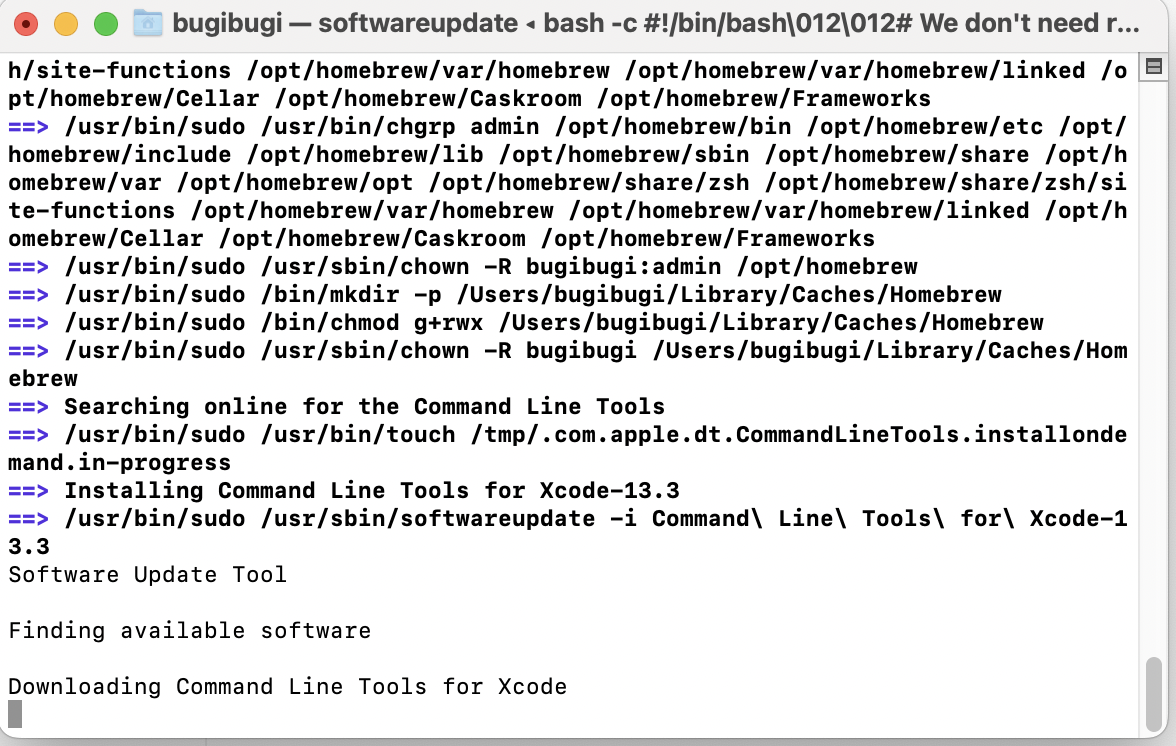
ㅈㄴ 오래걸림. 기둘

echo 'eval "$(/opt/homebrew/bin/brew shellenv)"' >> /Users/bugibugi/.zprofile
eval "$(/opt/homebrew/bin/brew shellenv)"
명령어 그대로 입력.

설치완료!!
-brew 명령어로 nvm설치 (nvm : 노드 버전관리)
brew install nvm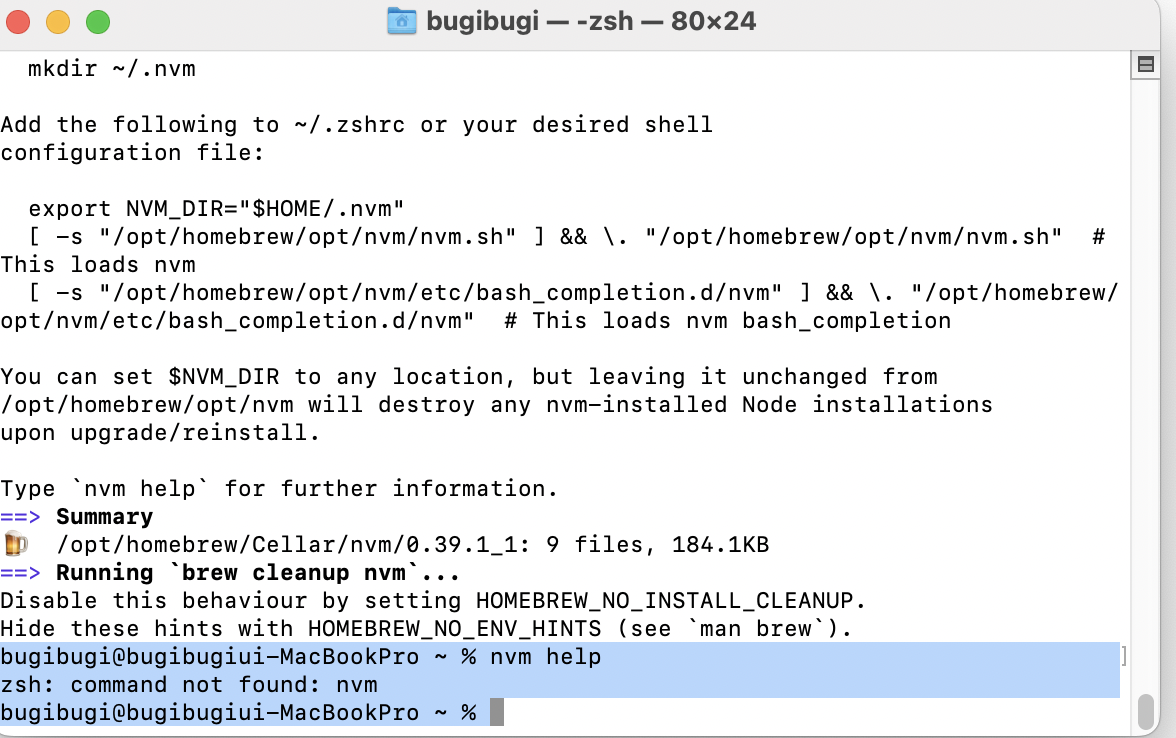
설치를 하더라도 nvm 명령어가 바로 안먹음.
mkdir ~/.nvmvi ~/.zshrc
//아래 내용 넣고 ESC후에 wq! (쓰고 저장한뒤 나간다는뜻)
export NVM_DIR="$HOME/.nvm"
[ -s "/opt/homebrew/opt/nvm/nvm.sh" ] && \. "/opt/homebrew/opt/nvm/nvm.sh" # This loads nvm
[ -s "/opt/homebrew/opt/nvm/etc/bash_completion.d/nvm" ] && \. "/opt/homebrew/opt/nvm/etc/bash_completion.d/nvm" # This loads nvm bash_completionsource ~/.zshrc
//바로 적용
nvm 환경변수 설정까지 다했으니 최신 node버전을 다운받는다.
nvm install --lts
지저쓰 크라이 노드 설치 완료.